If you're designing something for print, small details make a big difference. That goes double on small items like business cards, labels, stickers, tokens or flyers.
Here's one to watch: don't put a border too close to the edge of the page, or too close to a fold.
Why a border near the edge prints lopsided
Printing tolerances: the sheet moves
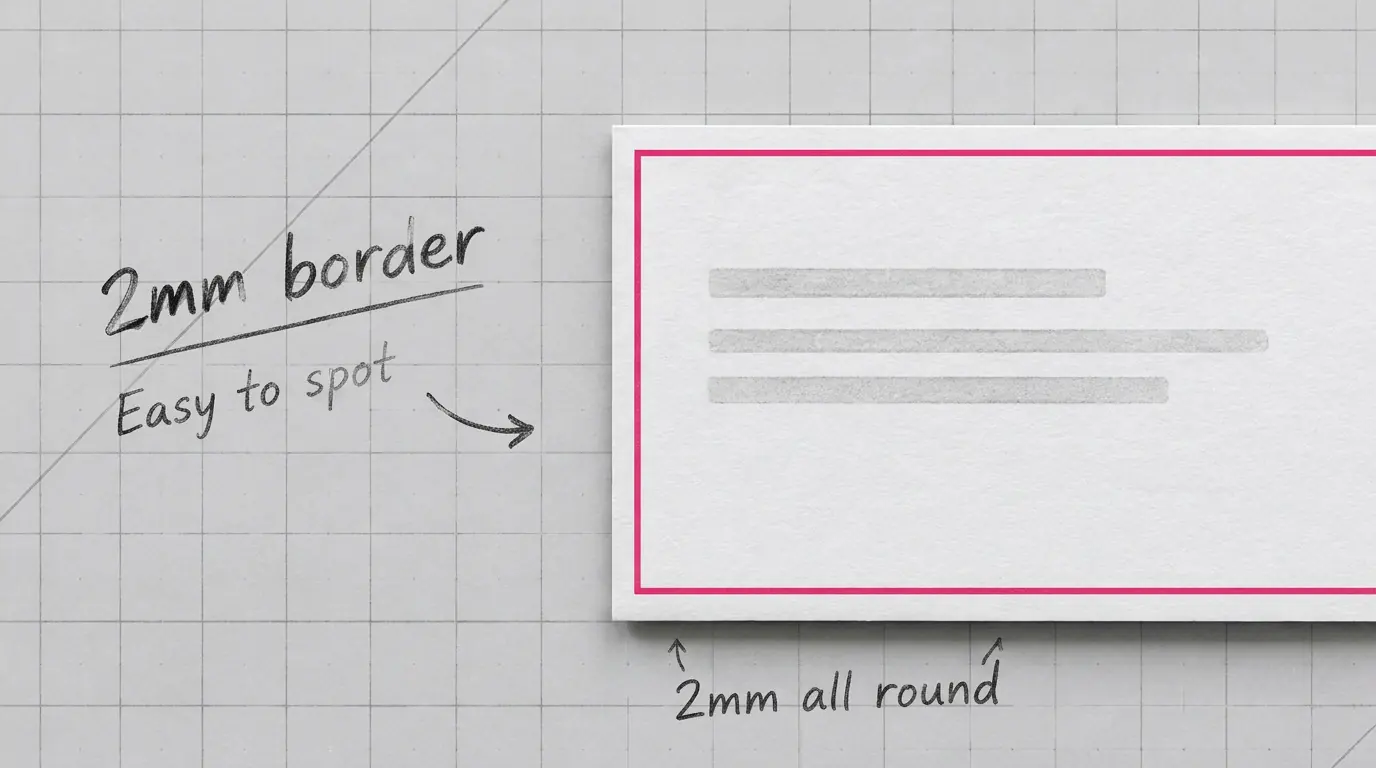
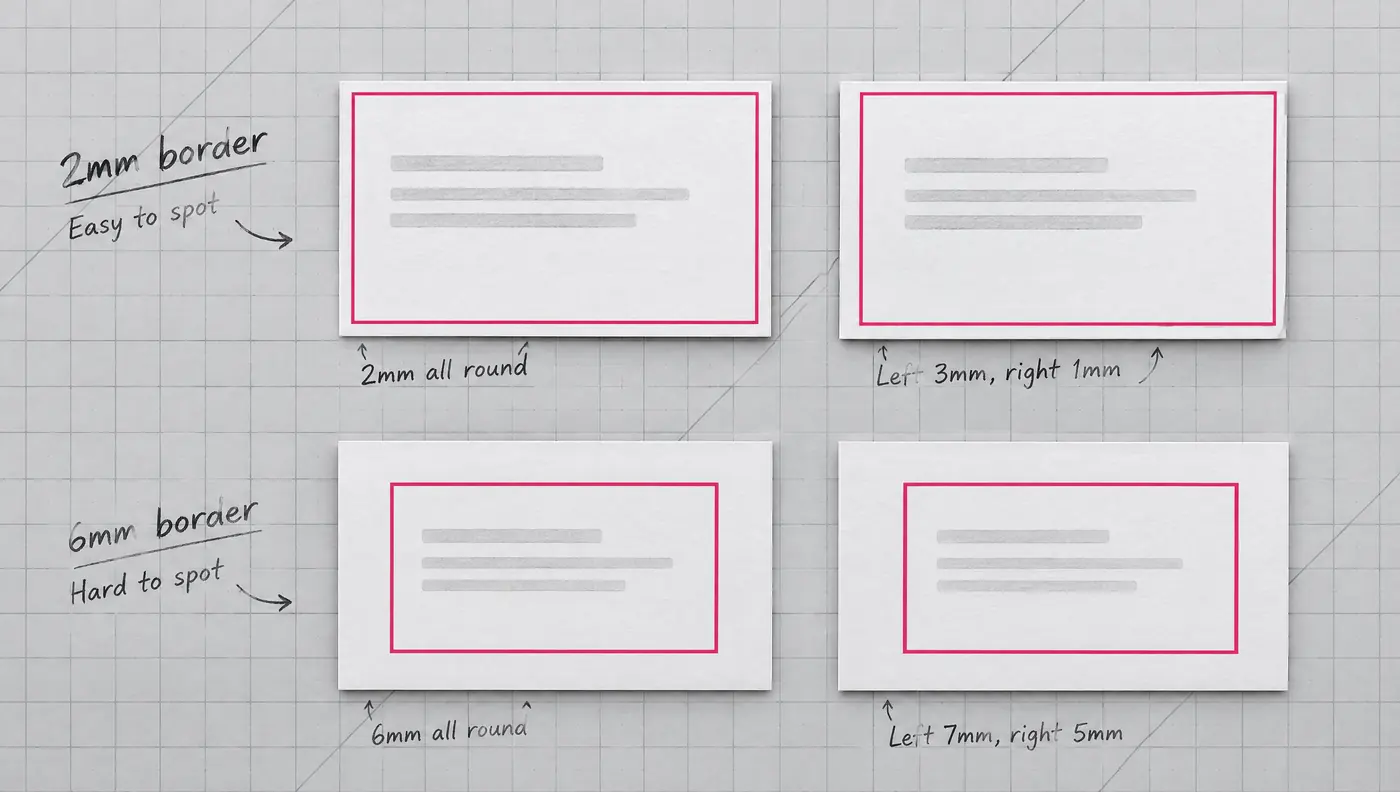
Every printing press has slight variations, no matter how advanced or how expensive it is. Each sheet of paper or card moves ever so slightly as it goes through the machine. Normally you'd never notice. With a thin border, it jumps off the page. Take a 2mm border that shifts by 1mm: you get 3mm on one side and 1mm on the other. That's an extreme example, but it shows you what can happen.
Cutting tolerances: the stack moves
After printing, the paper gets cut. Cutting has tolerances too, so the cut can land slightly off from where you expect it. Paper is cut in a big stack on an industrial guillotine, and the paper can shift a touch as the blade goes through the pile. Put a border too close to the edge and part of it can get cut off, so the job looks lopsided.
Add those two tolerances together and you can see why an exact thin border is hard to hold across a run of sheets. There are more advanced ways to cut paper, like a laser. They cost more, and they're usually kept for very high-end products.
How to design borders that print even
Keep a 6mm safe margin
Always leave a safe margin inside the edge of your document. As a rule of thumb, keep anything that matters, including text, logos and borders, at least 6mm in from the edge. That way your design survives a slight shift. Back to the example: a 1mm shift on a 6mm border gives you 5mm on one side and 7mm on the other. It won't be spot on, but it's nowhere near as noticeable as it is on a 2mm border.
Set up 3mm bleed
Set your document up with bleed. The usual is 3mm on every side, which means your design runs past the finished cut size by that much. Say you're designing an A6 postcard at 105 x 148mm. Your document should be 111 x 154mm, which gives you 3mm of bleed on each side. Adobe Illustrator and InDesign let you set the page size and the bleed separately. In Photoshop you have to do the sum yourself.
Go thicker on borders
If you have to have a border, make it thicker and keep it well inside the safe margin. Thin borders are the ones that come out looking uneven after printing and cutting. A thicker border has a better chance of looking even, and it looks more professional for it.
Ask us
Every printer's machines are different, and so are their tolerances. What works on one set of kit might not work on another. If you're not sure, ask us. It's far easier to get it right at the start than to go back and try to fix it after it's been signed off.